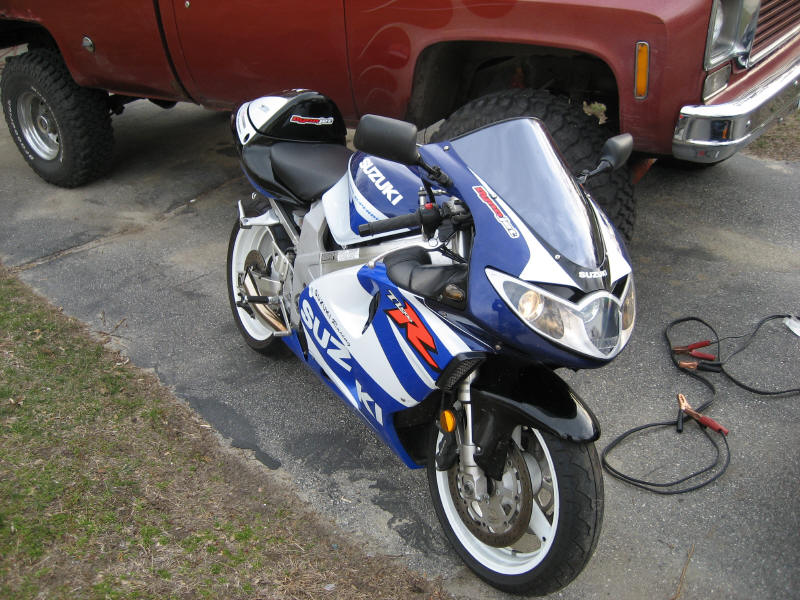
Engine Replacement
|
|
operated by MaverickMachines.us |
|||
| TL1000R |
Engine Replacement |
|
|
|
||
|
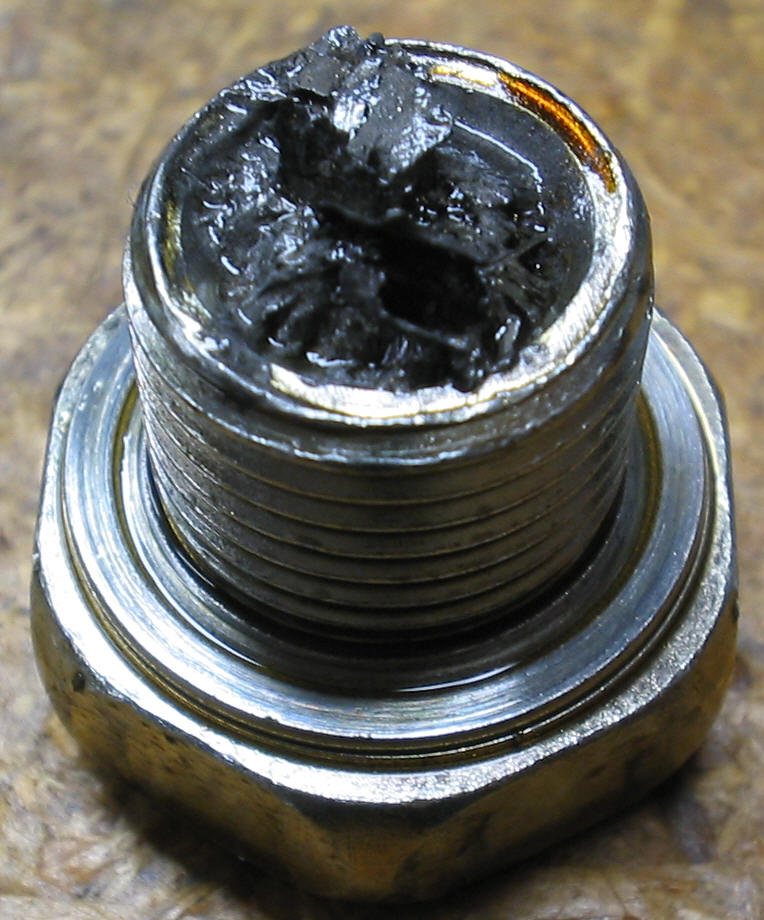
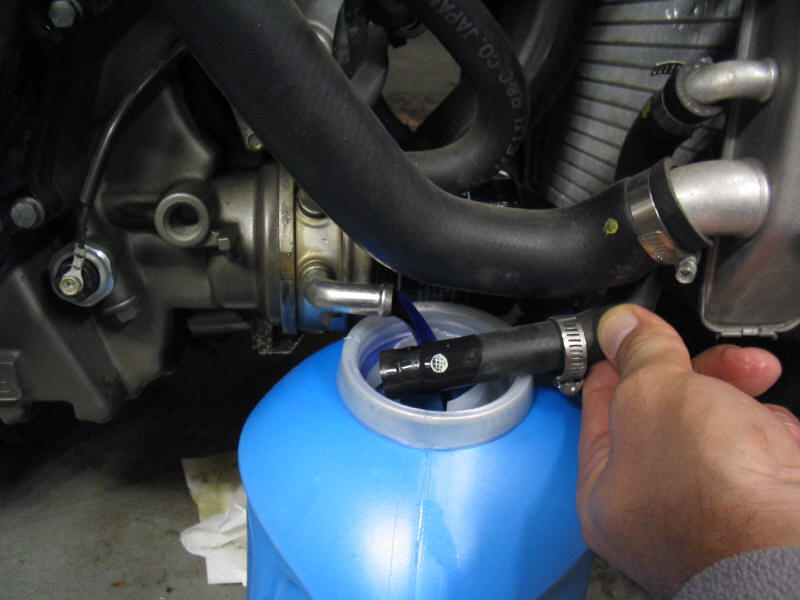
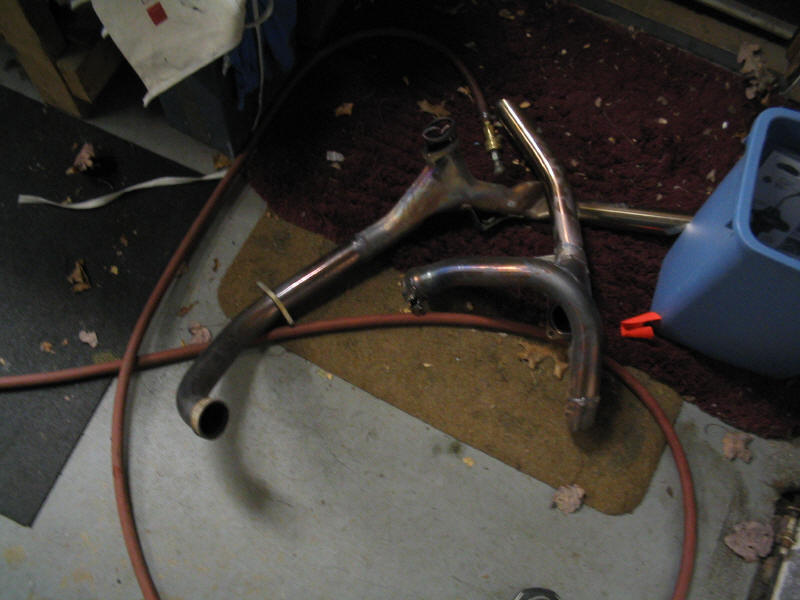
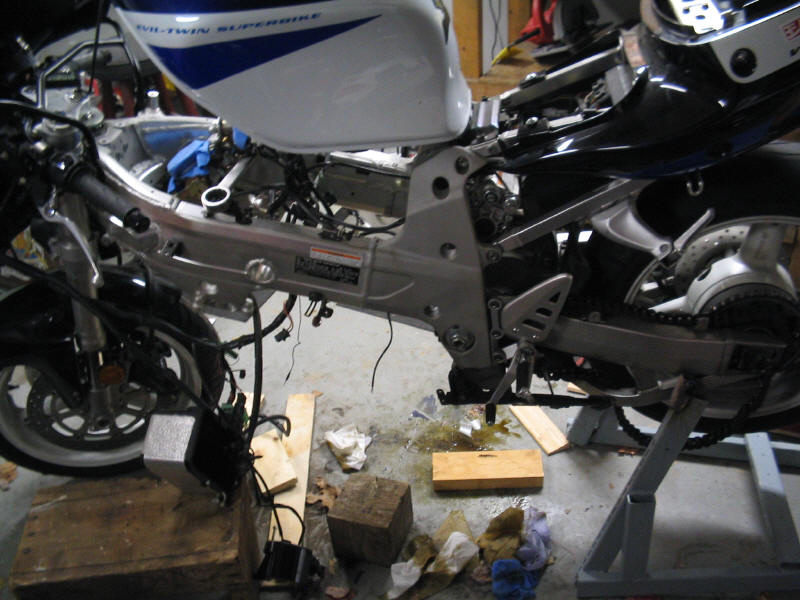
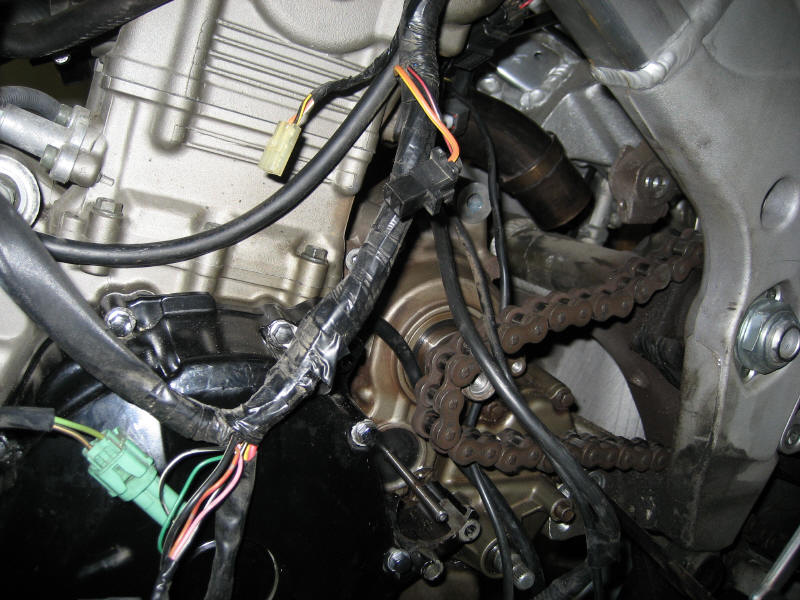
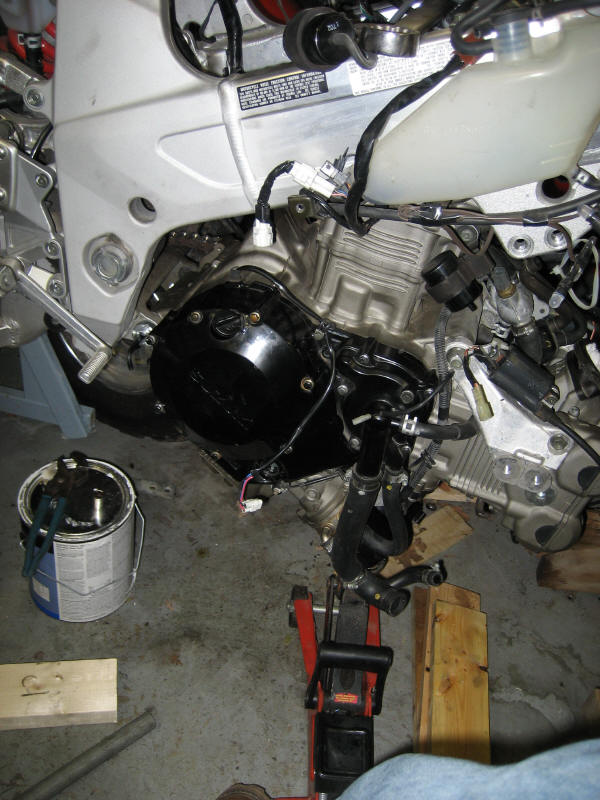
My bike started making this weird marbles in a coffee can type sound above and beyond the normal TL tapping. I could hear it even with a helmet on which is my TL tapping gauge. If you can't hear the tapping with the helmet on then it is normal. So I went a couple hundred miles before I knew it was time for a rebuild. One day I was going for a short ride -just to the gym and about 1/10 of a mile down the road I noticed that when I let off the throttle the engine was pulling badly as if my brakes were stuck on. I turned the bike around and prayed I wouldn't have to push! The bike stalled. So while I was on the side of the road I checked the oil level -it was OK. So I started her up and she started -I was amazed at this point. She wouldn't stay running. I fish tailed her all the way to my driveway at 6K RPMs... Turns out it is faster and cheaper to drop in a salvage motor. These motors come almost maxed out as far as performance goes -so rebuilding will have very little benefit. Removal: I unplugged all the electrical and tied back the throttle bodies. I did not disconnect anything to the throttle bodies. Removed the cooling system. Loosen the front and rear mounting bolts. If you are not following the manual you will need to loosen the pinch bolt on the rear upper mount. You will also need to loosen the weird crown nut type thing on the lower rear mount (I just used a pair of waterpump pliers for this).
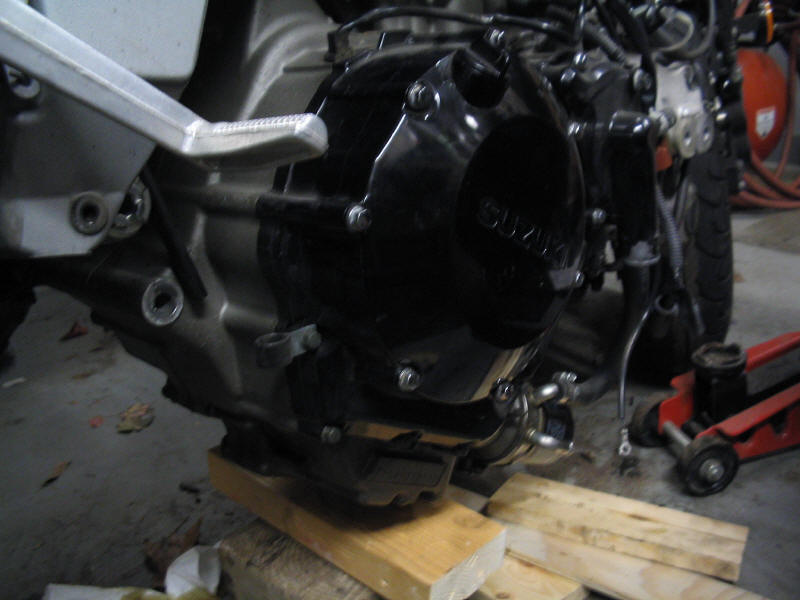
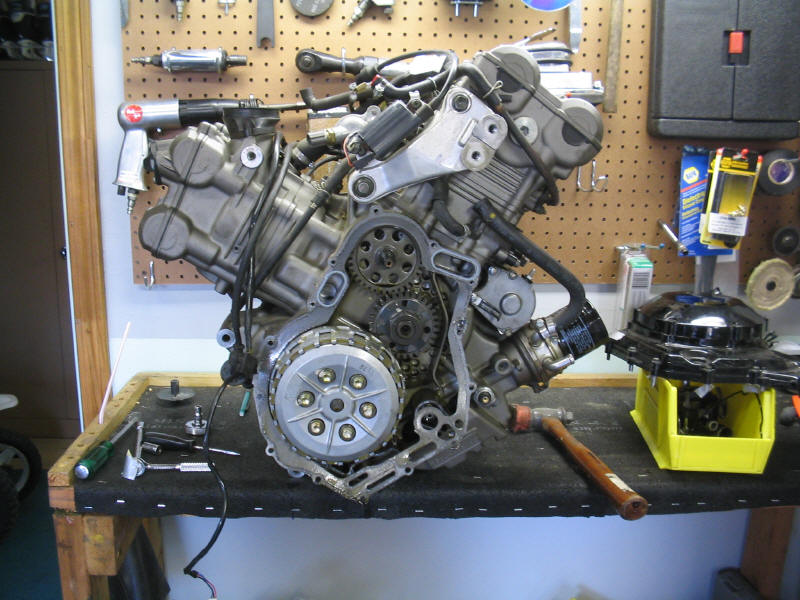
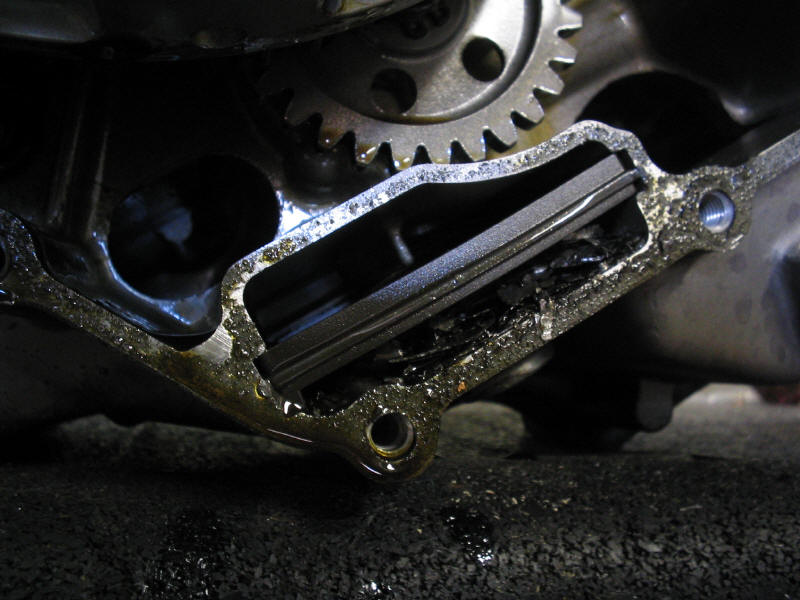
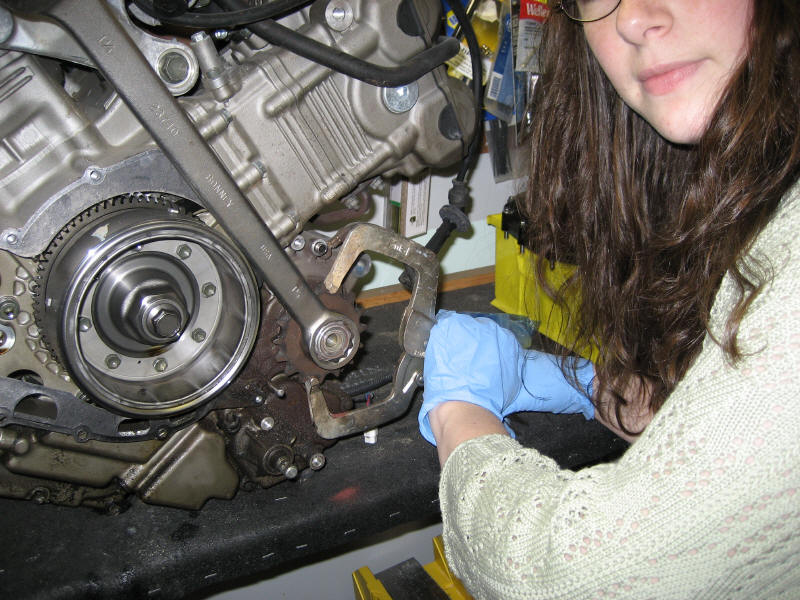
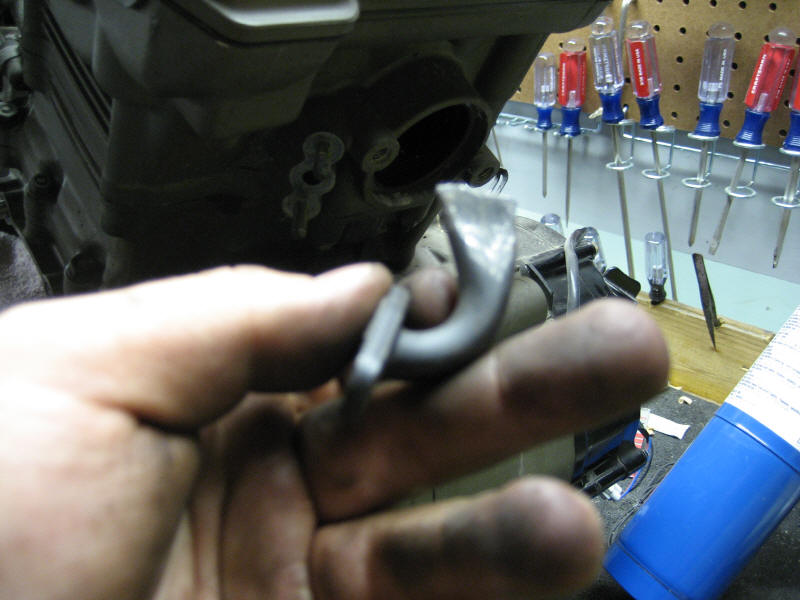
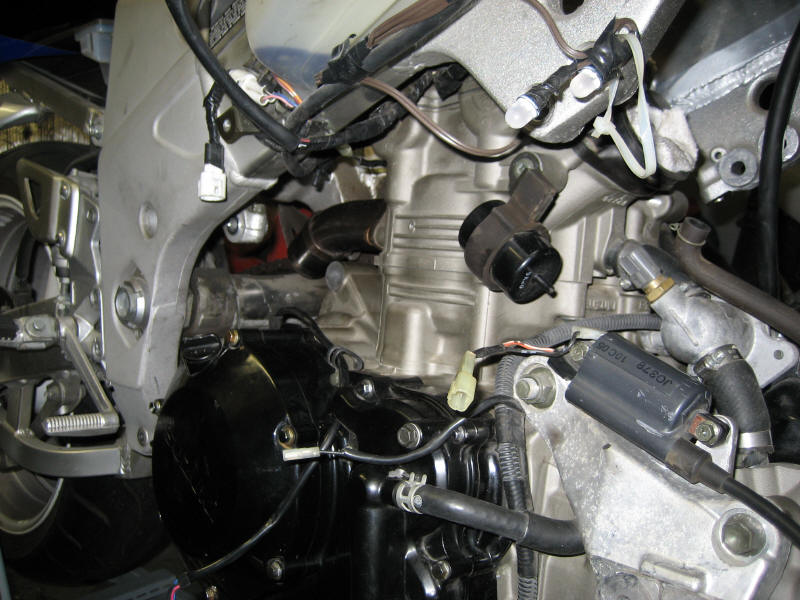
The Salvage motor... This motor is from a 99 TLR in NH. On the last day of the former bikes life the chain had snapped and taken out the stator case clutch mount, the clutch push-rod, and a clutch mount that comes directly off of the main case = OUCH! This may be the reason the bike was totaled. I bought a salvage motor from a 99 TLR with 6K miles from Argo Cycles (their ebay store). The first order of business was to size up the damage from the chain breaking. Then removing the pair (emissions) system (more details here PAIR VALVE MOD). I also had to repair where the chain had ripped a mount off of the main case clutch mount repair
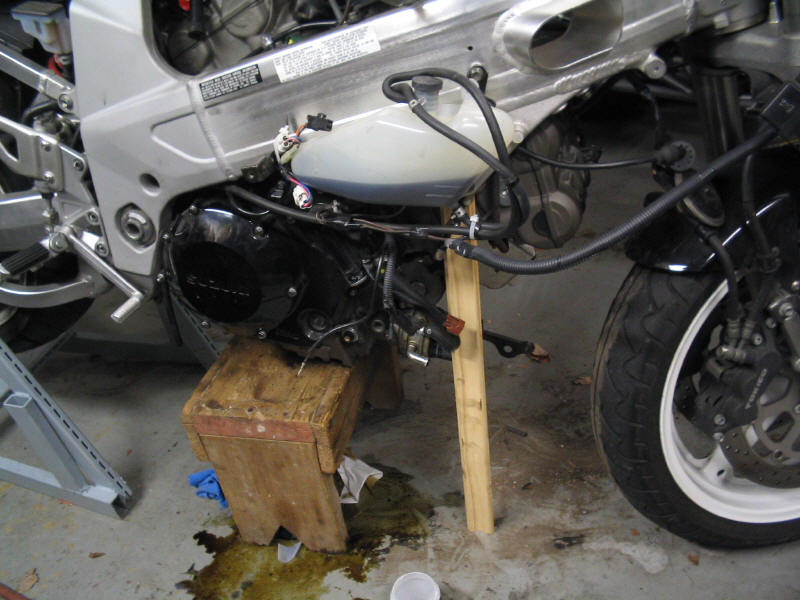
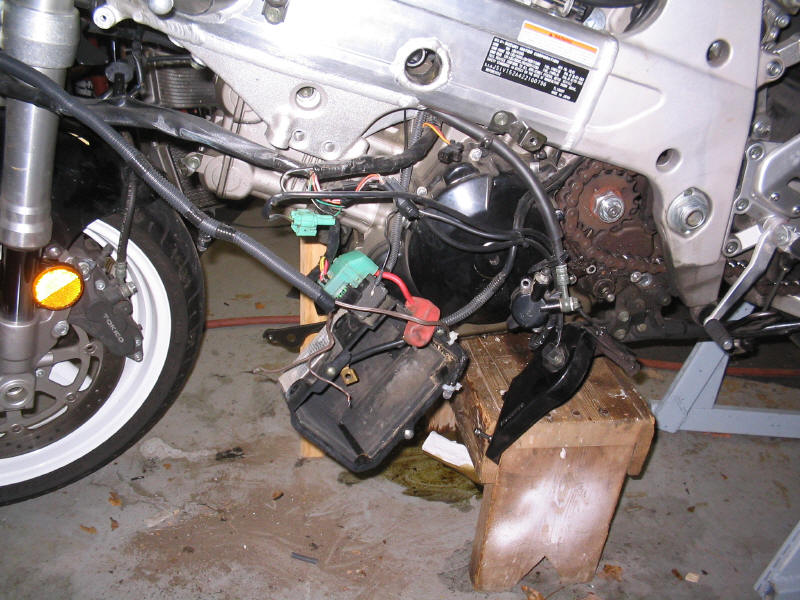
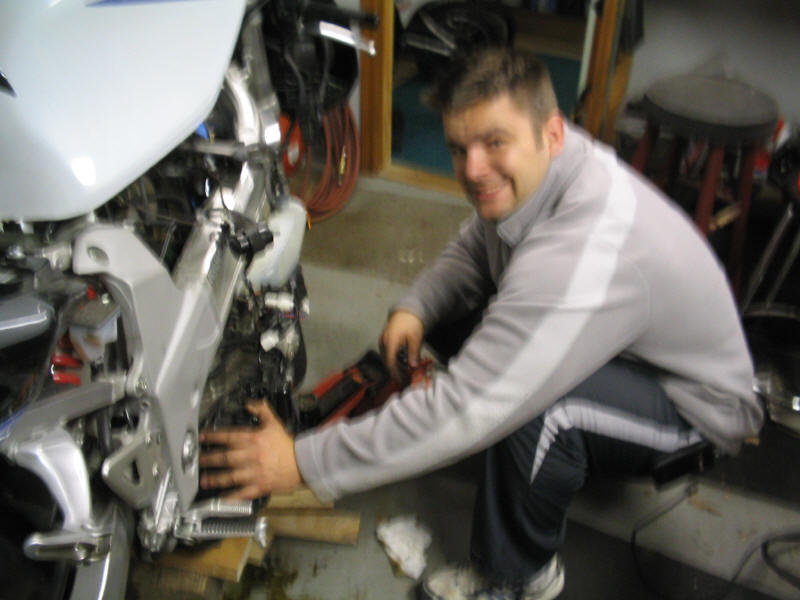
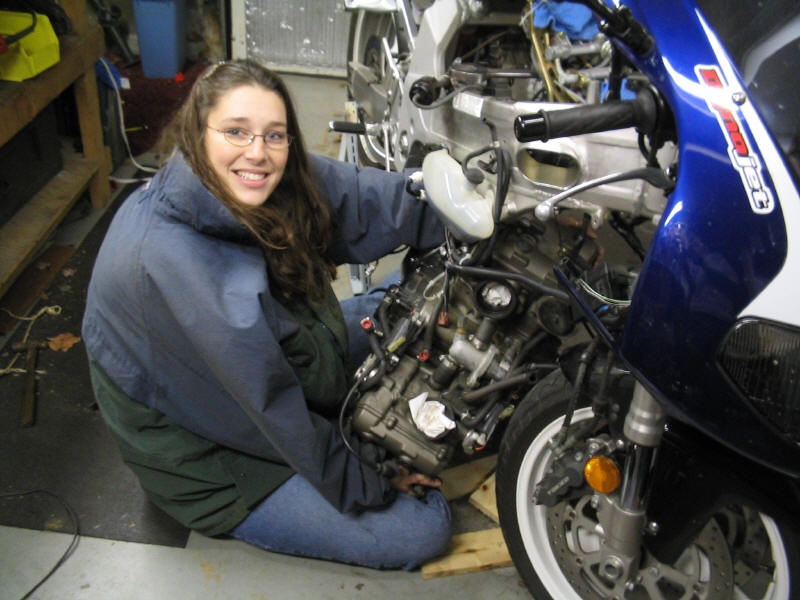
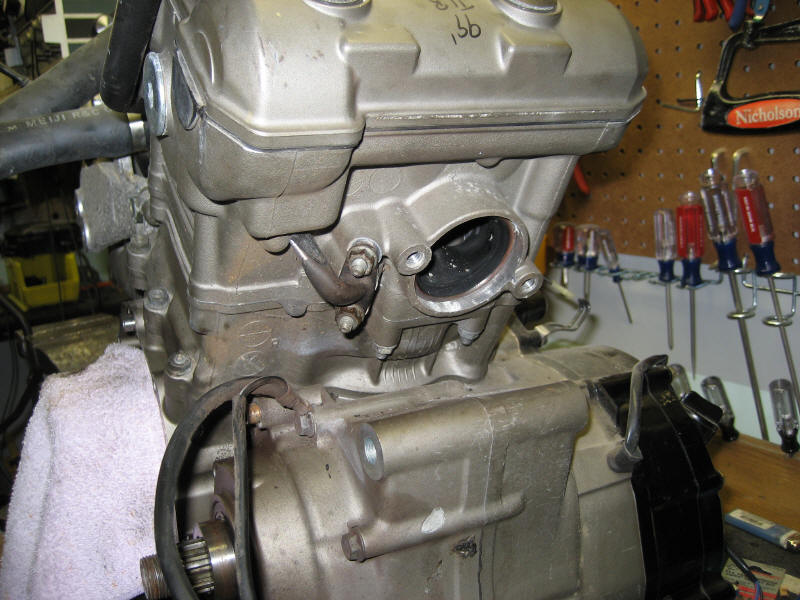
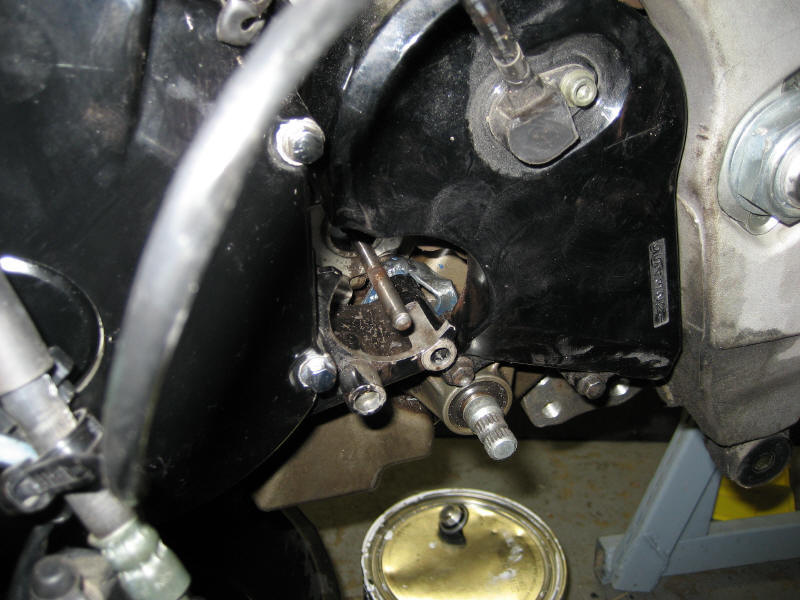
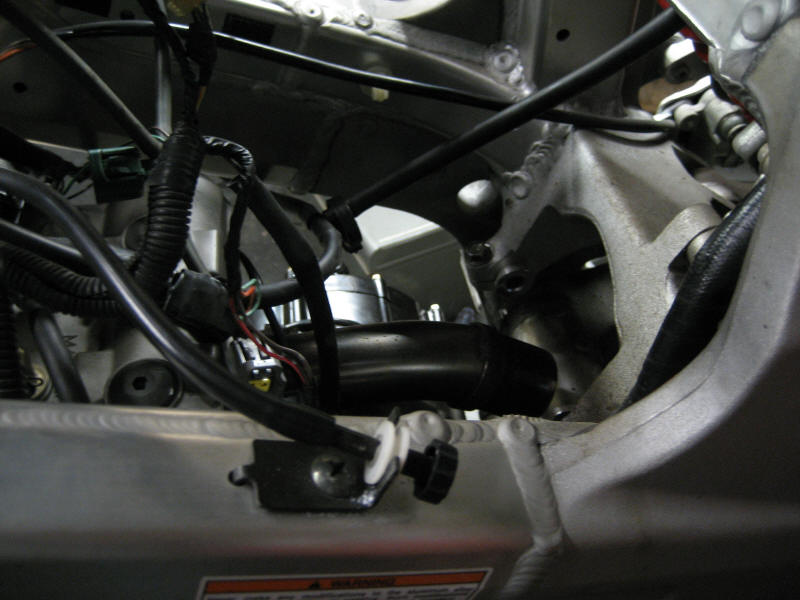
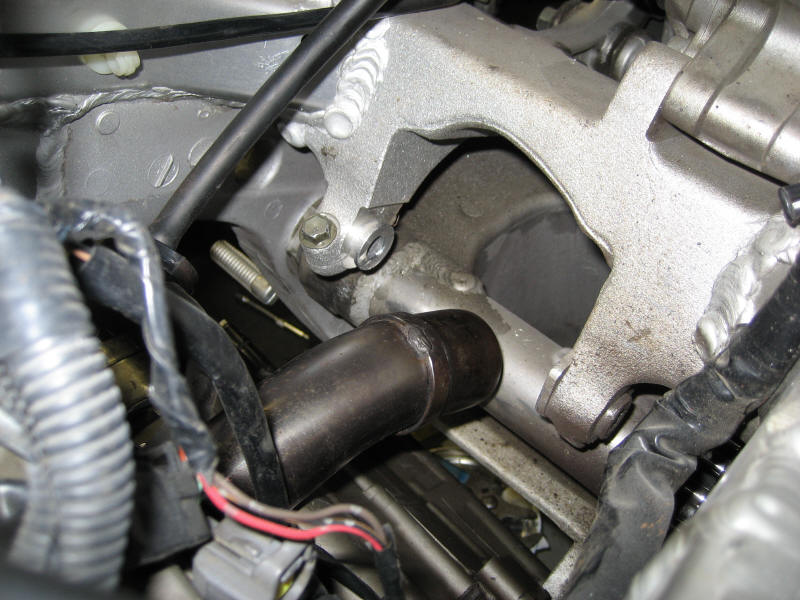
The installation... I had to install the engine twice. The first time I forgot the rear downpipe -you definitely want this on there before mounting up the engine. I found that the easiest way was to get the whole bike about milk crate high and use a car jack to lift the engine. 1) Remove the kickstand 2) Balance the engine on the oil filter on a car jack (rear side up). 3) Once you get the bottom-rear engine mounts close put an allen wrench through the hole on both sides. 4) Now as you continue to jack the engine will align 5) As the ignition coils get close to the frame a. Be careful not to pinch your hydraulic clutch line b. Careful that the wiring harness does not get caught on the rear head c. Slip the chain over the front sprocket shaft as this will be a pain in the ass if you do it later 6) Connect electrical 7) Connect throttle bodies 8) Bolt up radiators & connect cooling system 9) Bolt up air intake system 10) Add oil and coolant
|
||||||||||||||||||||||||||||||||||||||||||||||||||||||||||||||||||||||||||||||||||||||||||||||||||||||||