|
|
|
|
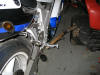
2003 SV1000 Clutch push rod seal
|
|
|
|
|
|
Use a large tool to depress rear brake
|
|
|
|
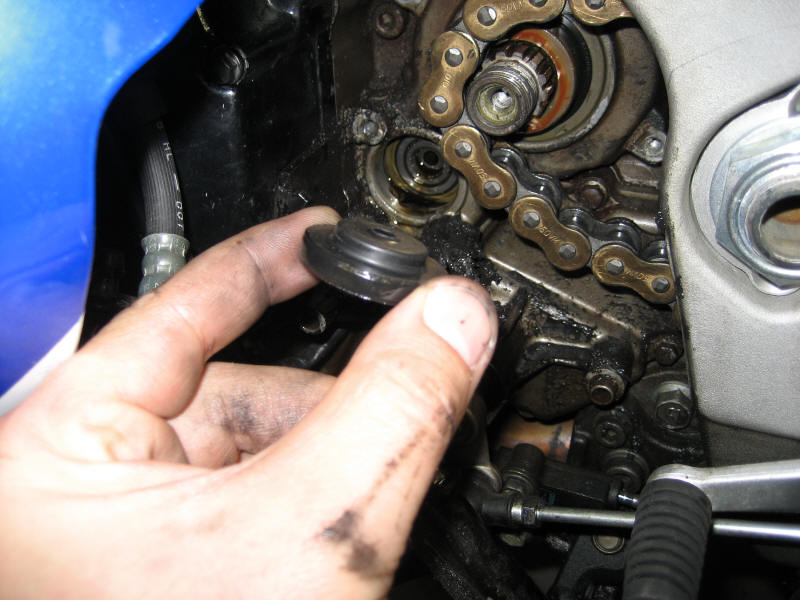
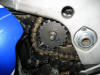
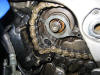
Remove clutch cylinder (2 bolts) and Sprocket cover. Then remove speedo nut and sprocket nut. |
|
|
|
|
|
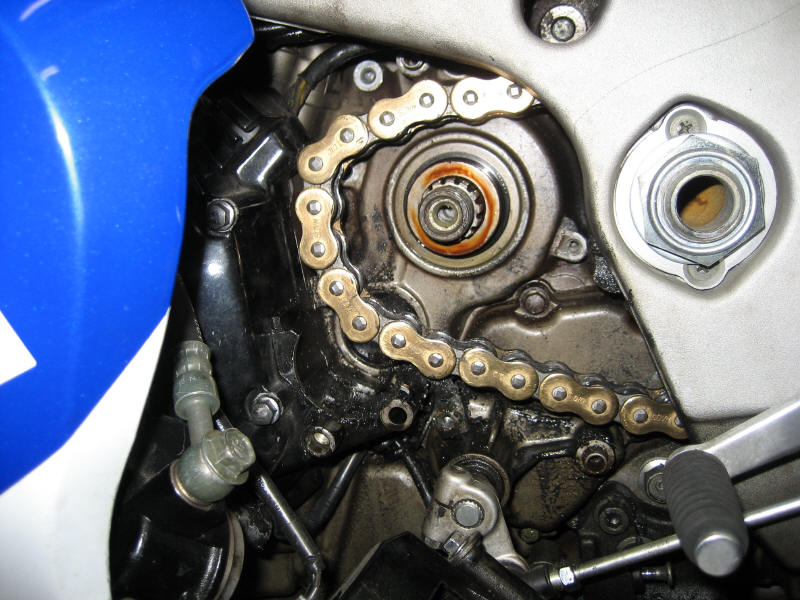
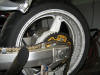
Take off the chain and give yourself some slack
Notice my rear rim from the leak = YUCK |
|
|
|
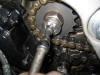
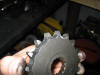
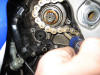
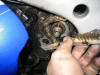
Mark the sprocket & remove the clutch push rod
I like to mark the sprockets direction so that you can put it back the same way it went it. The sprockets and chain wear to match each other. |
|
|
|
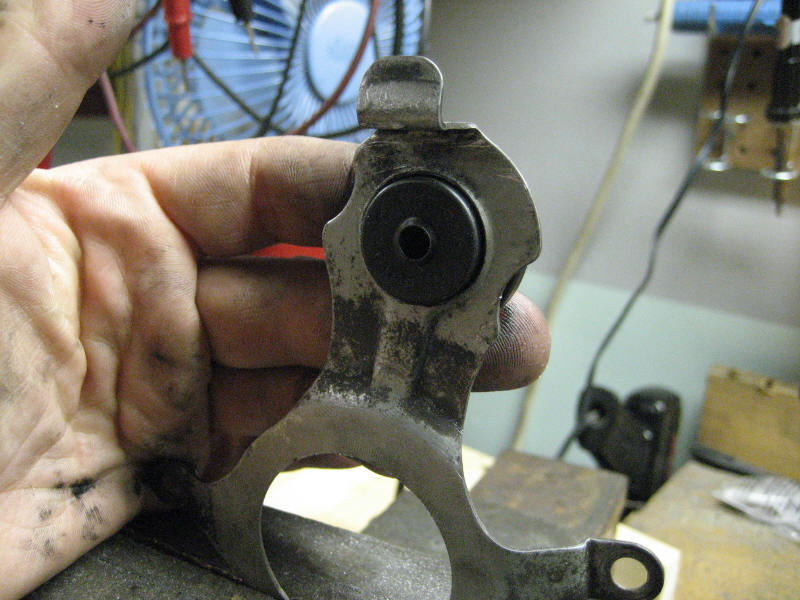
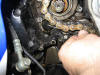
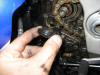
Remove the seal retainer plate (2 bolts)
The seal retainer plate can be tricky. Try NOT to bend it. Once the 2 bolts are remove the top of the bracket should come forward. Then the bracket can be lifted up and out. you may need to loosen the 2 or 3 bolts on the stator cover that are closest to the front sprocket. |
|

|
|
Retainer plate removed
|
|
|
|
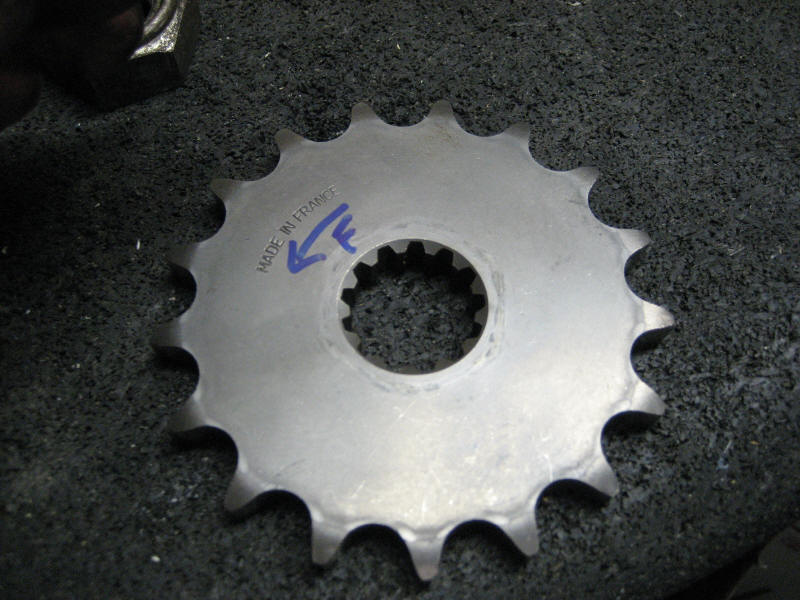
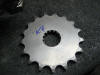
Marking your sprocket
My chain and sprockets only have a couple hundred miles on them but they are worn in and should be put back where they came from. |
|
|
|
|
|
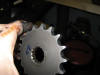
Worn in side
This wear is because the sprocket washer was installed the in the wrong place -behind the sprocket instead of between the sprocket and nut. |
|
|
|
Not worn in
|
|
|
|
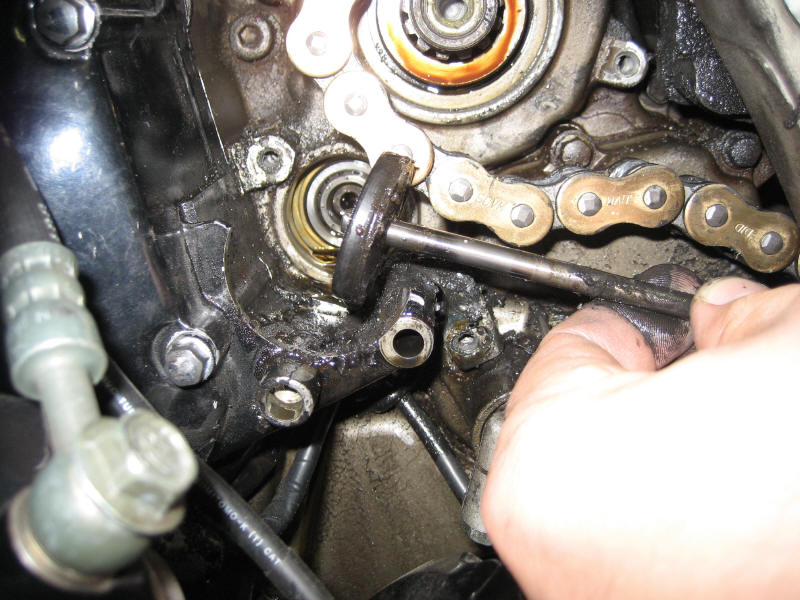
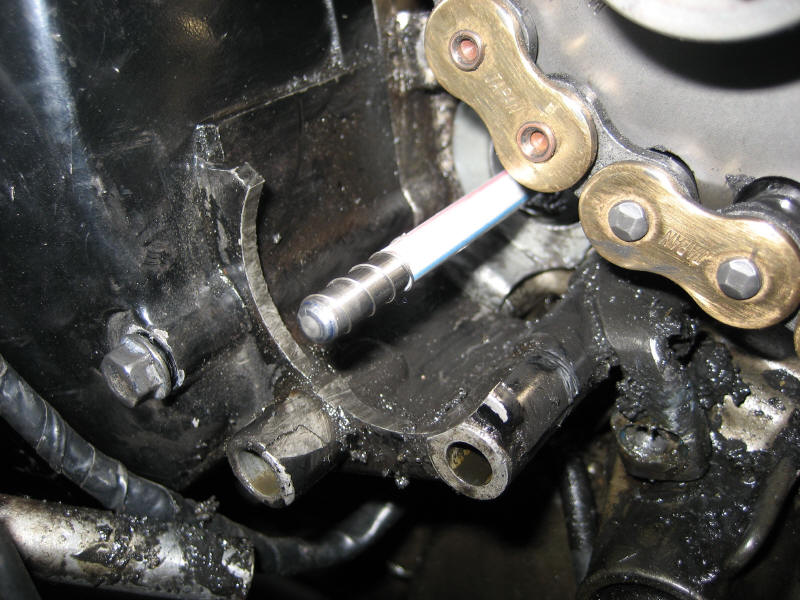
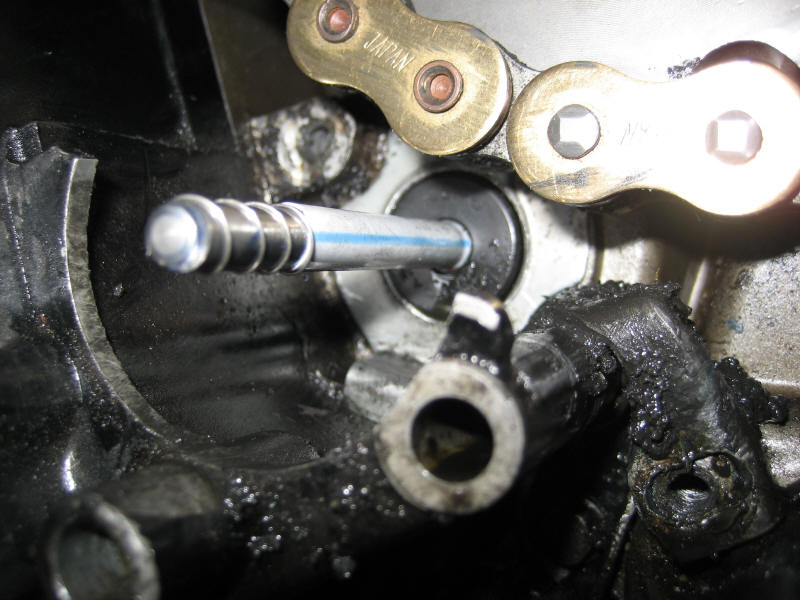
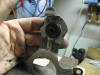
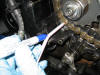
Expose the clutch rod seal
|
|
|
|
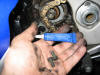
Use the clutch push rod to remove the old seal
|
|
|
|
|
|
|
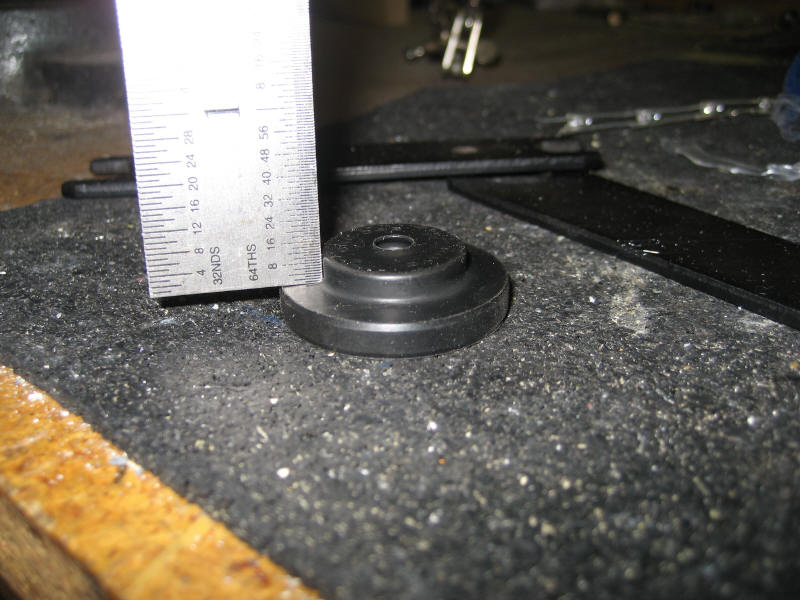
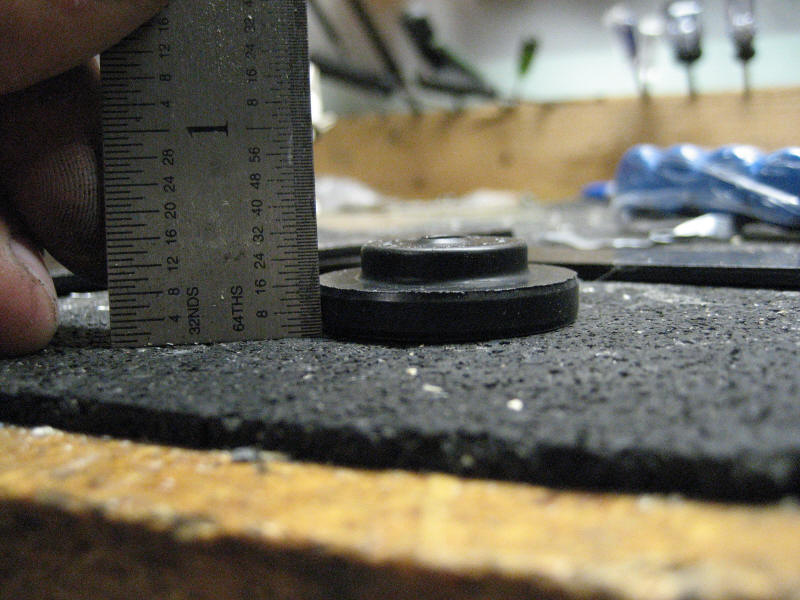
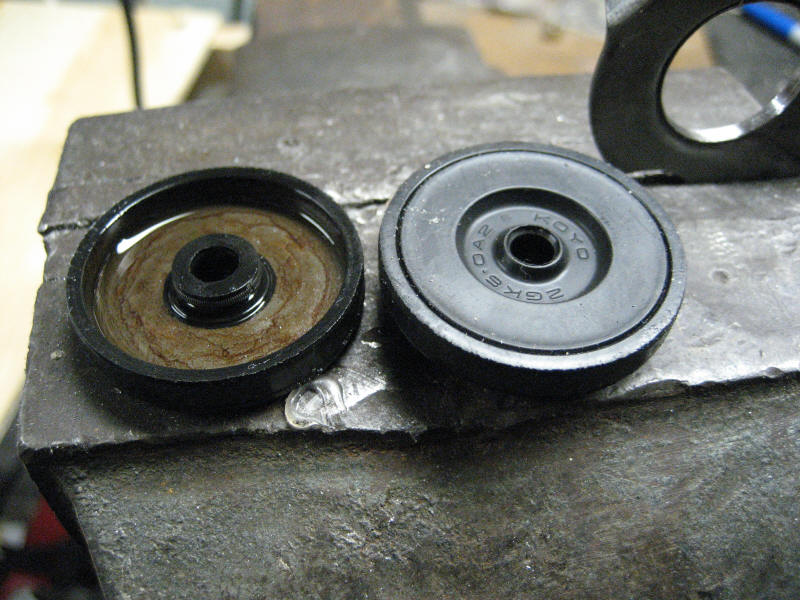
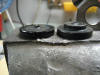
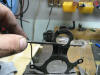
Seal comparison
|
|

|
|
Backside
|
|
|
|
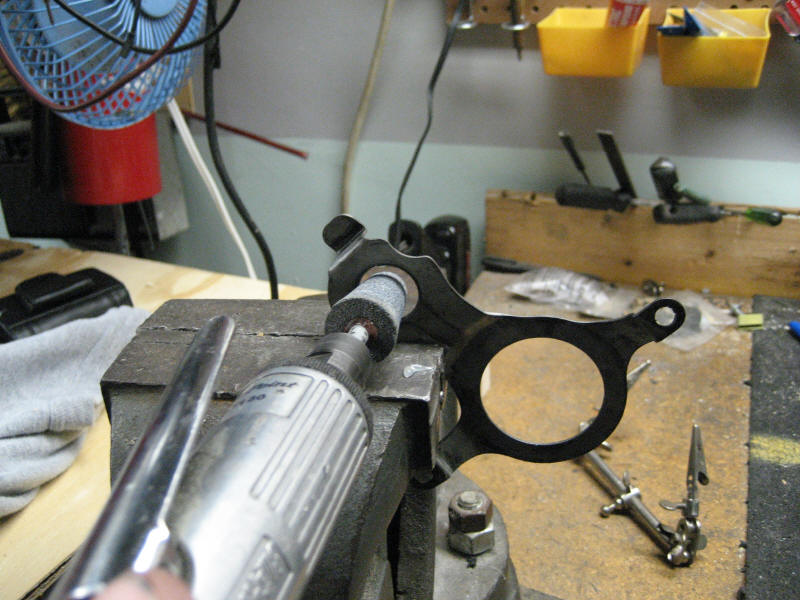
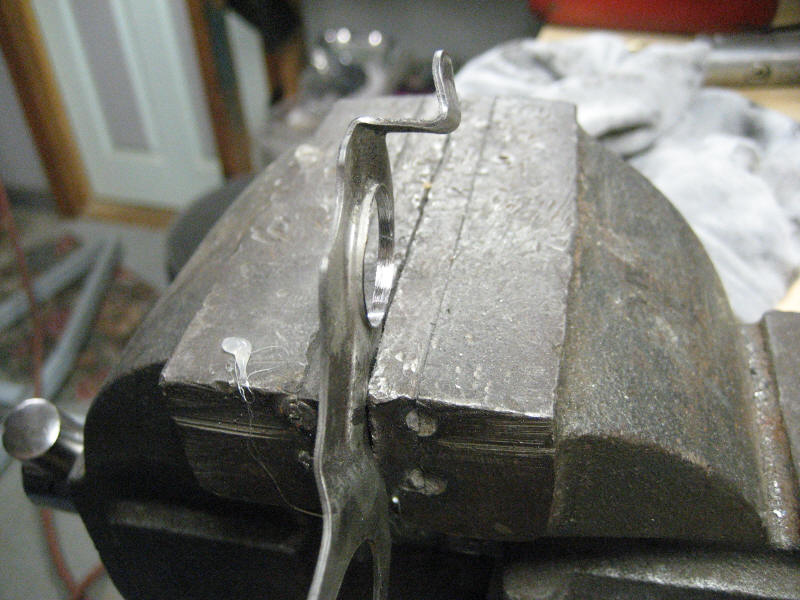
Modification of retainer plate
|
|
|
|
|
|
|
|
make sure there is a little space for the seal to move
|
|
|
|
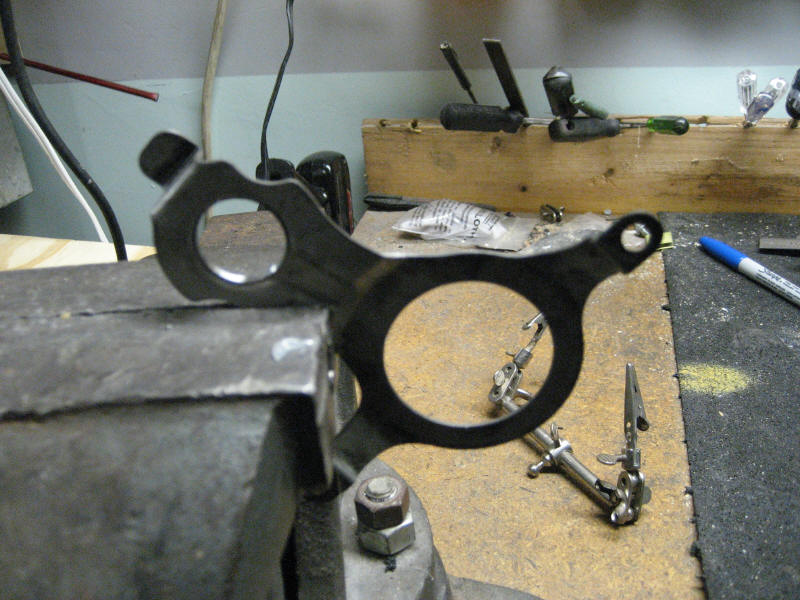
Rmove any sharp edges with a small round file
|
|
|
|
Insert new seal seating it flush
|
|
|
|
Insert retainer plate
|
|
|
|
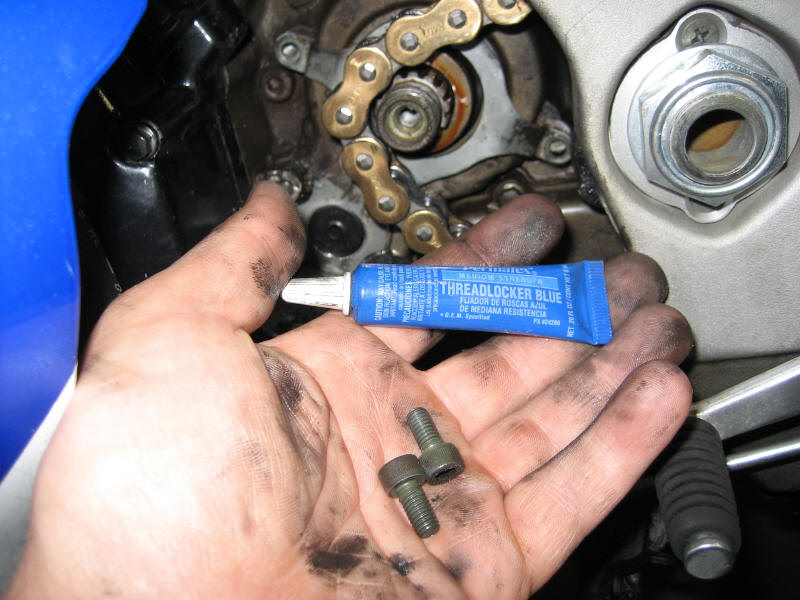
Locktite the retainer plate bolts
|
|
|
|

|
|
Put everything back
|
|
|
|
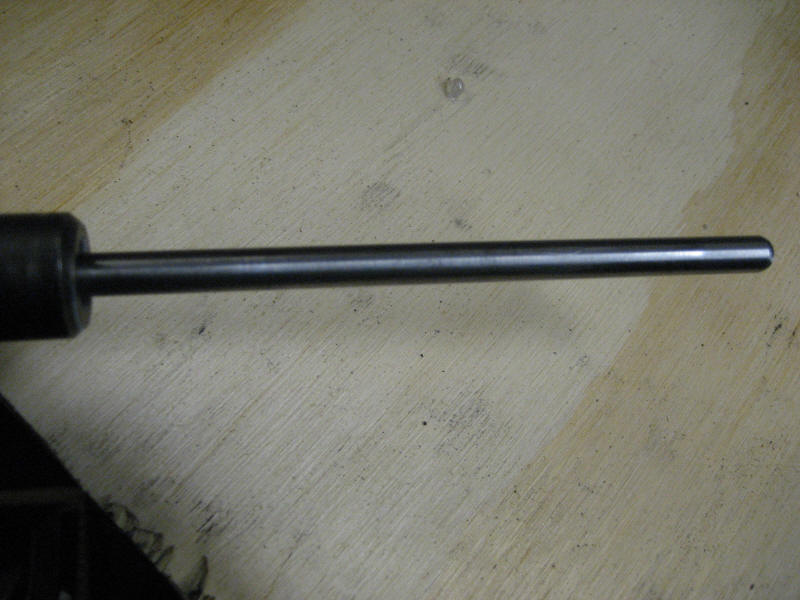
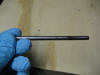
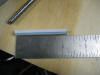
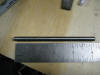
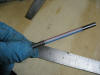
Resurfacing the worn push rod
Mark the dirty side of the pushrod (outside). You don't want that going through your new seal. I used a marker on that end for a marking. |
|
|
|
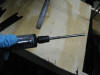
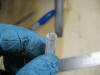
Put it in your dremel
|
|

|
|
Bring the rough spots to a smooth shine with a very fine polishing abrasive
|
|
|
|
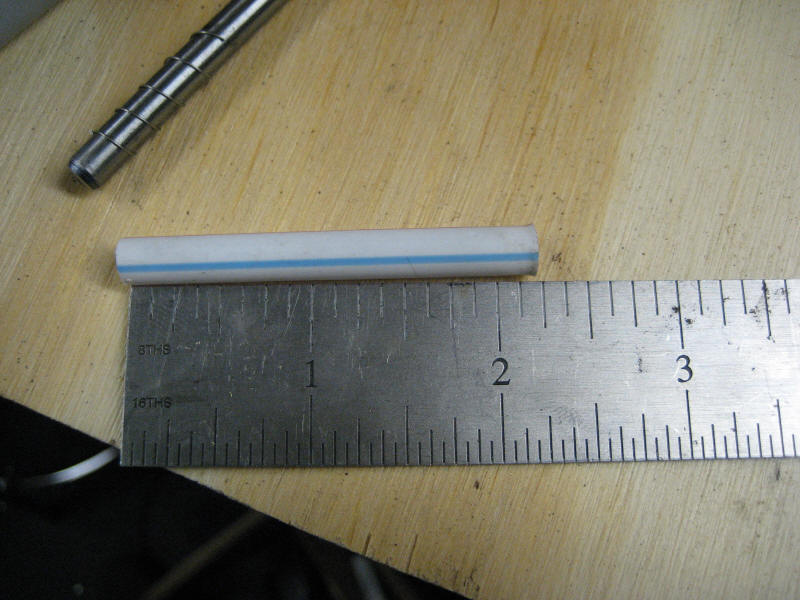
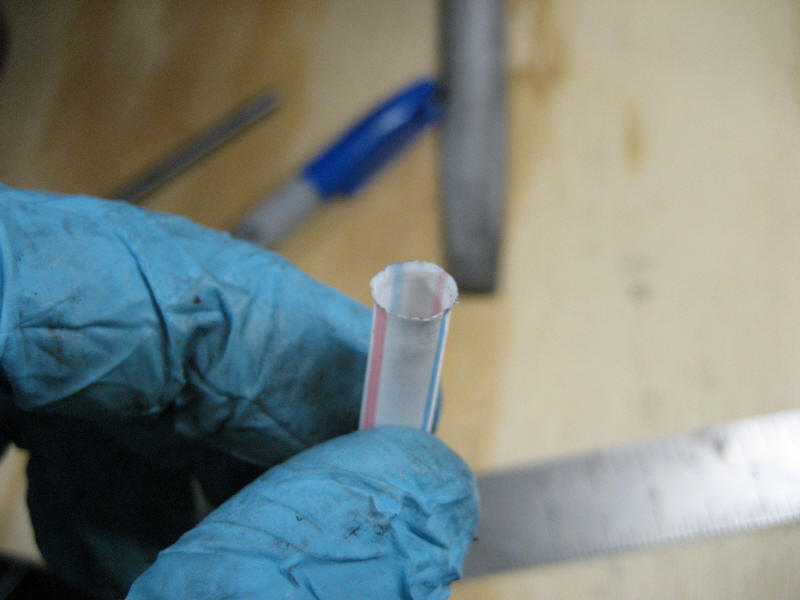
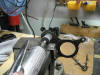
Making a push rod protector
Mark a drinking straw |
|
|
|
|
|
Start off with about this much -you should only need 1.5 inches
|
|
|
|
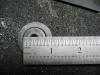
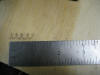
How long is your rod?
Don't know why I took this pic |
|
|
|
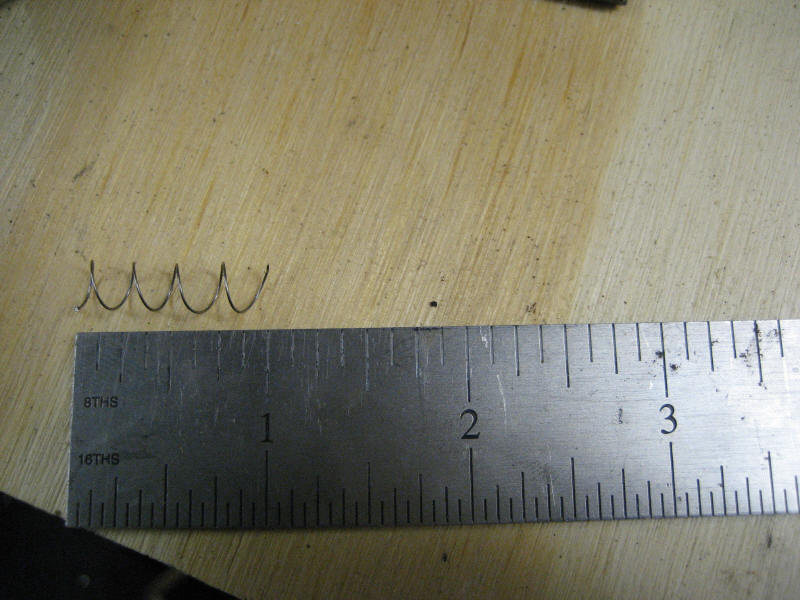
Stretch out a pen spring
|
|
|
|
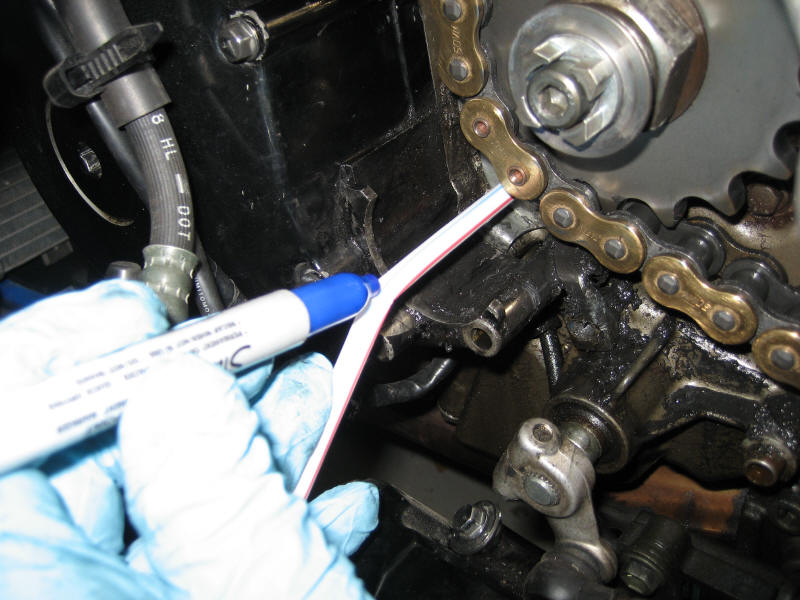
Flute one end of the straw
|
|
|
|
Get the idea?
The straw will protect the rod from getting gued up. That gue dries the the rod and is then forced into your seal when you squeeze the clutch. The straw prevents this gue from getting on your rod. The spring keeps the fluted end of the straw against the seal while the rod moves in and out. |
|
|
|
|

|
|
Installed!
|
|
|